This post may contain affiliate links which help support Zestuous.
 Moving around the world, I don’t always get to pick my kitchen. Sometimes I’ve been blessed with a granite counter, but most times I have had laminate or tile. And because we rent from duty station to duty station, we’re not about to invest in installing granite in someone else’s home.
One of the main reasons I love granite is because it’s great for kneading bread dough. My solution for the imperfect kitchen is to create my own portable granite counter…okay well table.
 I found this beautiful 1950-era Louis XV table in Belgium at a second-hand shop called Troc. I went to Trocs around Belgium and France nearly every weekend to see what Europeans were consigning. I often visited www.troc.com to search for the Louis XV-style furniture I wanted before visiting the store.
The day before the packers were coming to ship us back to the states, I found this table, six chairs, a china hutch and a credenza for 125 euro. That was about $150 at the time. I had to work, but my husband was off, so I sent him to downtown Brussels in his big pickup truck in the rain to grab it. What a guy! I knew exactly how I wanted to refinish this table, and a year later, it’s finally done.
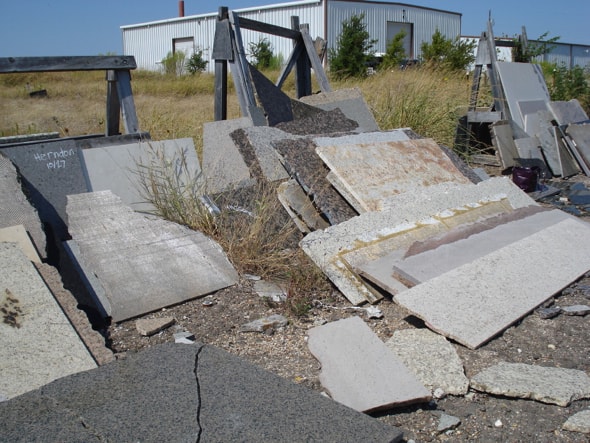 Because I got it all so cheap, I had wiggle room to invest more into our family table. The first step was finding the perfect piece of granite to go on top. Granite is sold for $35-$100 per square foot. But if you’re lucky, you can find a remnant (a piece that is leftover from another job) and you can get it for $25 a square foot.
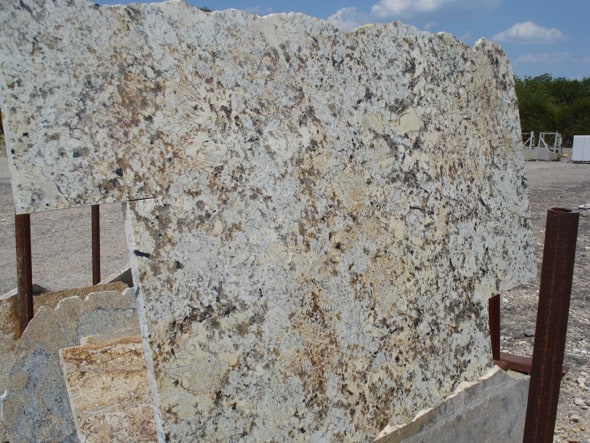 I lucked out and found the right piece for a patio table that I refinished…but when I thought I found the perfect piece for my larger kitchen table, the store changed its mind and upped the price from $30 to $80 a sq. ft. because they thought they could use it on someone else’s kitchen project. I won’t be going back to that store.
I traveled around the region and found Custom Countertops of Central Texas right off I-35. Mike, the manager, was so helpful. He walked through the remnant yard with me tape measure in hand…something the other granite store would never do.
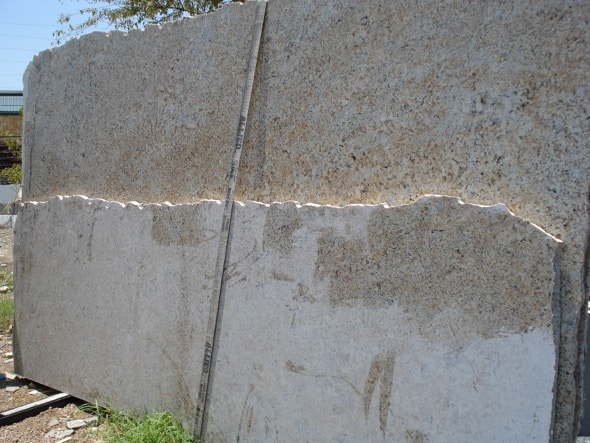 Unfortunately, I couldn’t find a remnant in the color I wanted, but he worked with me on price, and we found the perfect piece that he could offer at a reduce rate. He even took off $5 per square foot since I didn’t need them to deliver it. Mike was so great he even found a small enough scrap piece of my granite, so I could take it to the store with me to pick out paint colors.
Within a week, the piece was cut and ready for my table…but my table wasn’t going to be ready for the granite, unless I got to painting.
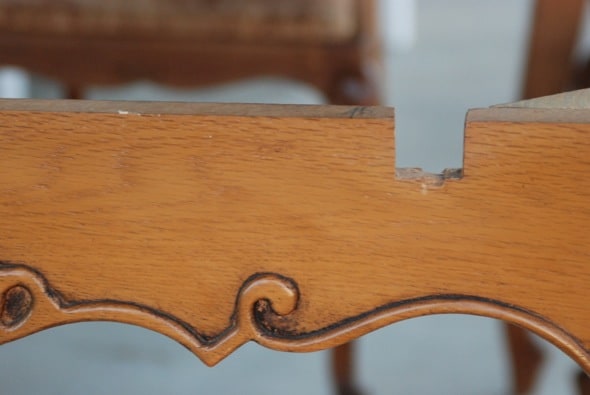 The table had a leaf that I’m not going to use with the granite top. Without the leaf, there were grooves left in each side of the table.
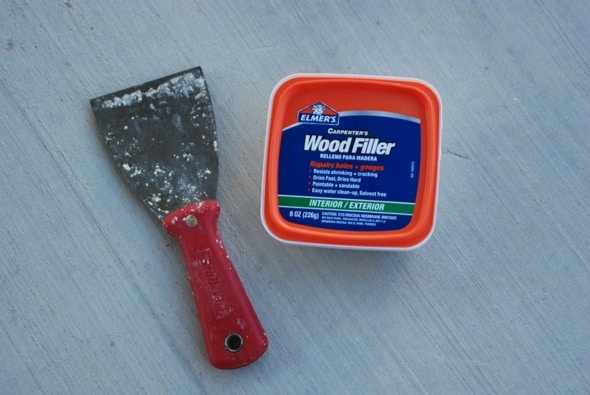 I used wood filler to fill the grooves.
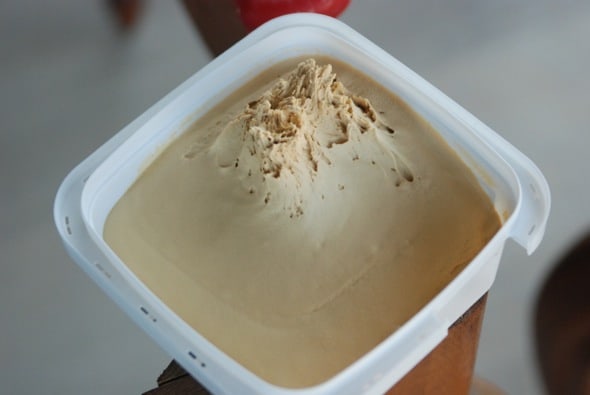 It has the consistency of putty.
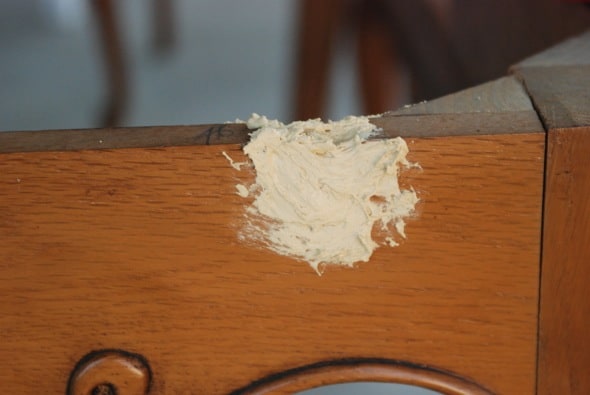 You can use fancy tools, but I just scoop it out with my hand and shape it into the groove. It’s important that the filler extends out slightly past the surrounding wood.
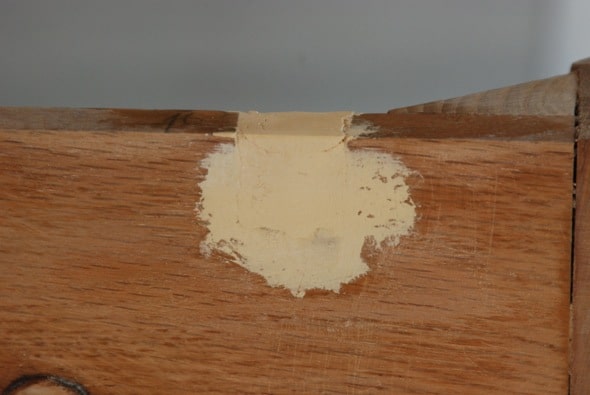 Once it dries (I let it set overnight) sand it down so it’s smooth and flush with the surrounding wood.
 Sand down the rest of the table and chairs using coarse sandpaper and/or steel wool. I don’t like to wear gloves, so I hold the steel wool with a paper towel.
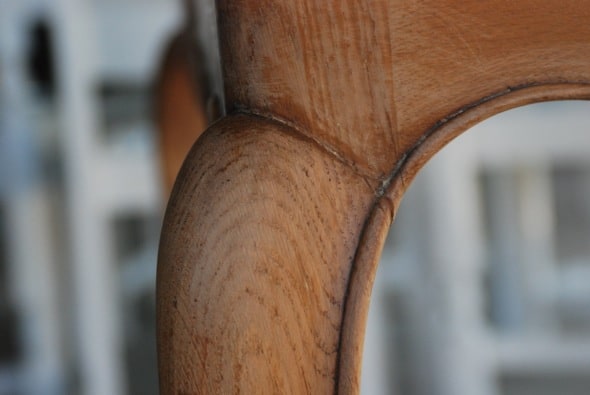 Because this is shabby chic, your sanding doesn’t have to be perfect.
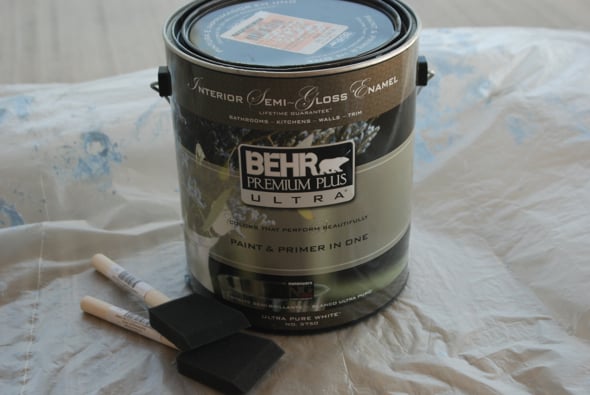 Wipe the sawdust off and prepare to paint. My base coat was a combination of primer and semi-gloss paint. I used Behr paint from Home Depot. The color is #560E-2 Cumberland Fog. I used a medium-sized sponge brush. I find that works the best to get into all of the grooves, and it creates a smooth finish.
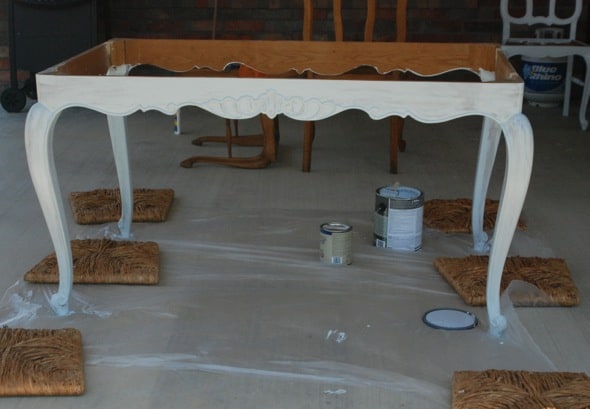 One coat wasn’t enough.
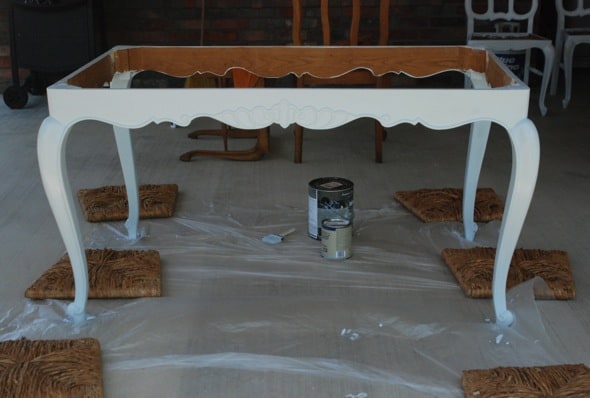 So I painted all of the chairs and the table once and followed with a second coat. I went through about 5 sponge brushes.
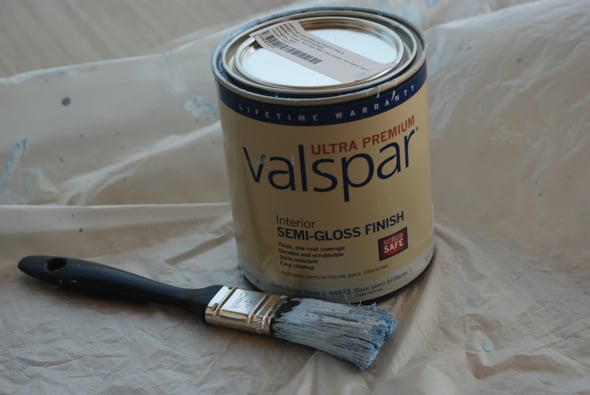 I let the paint dry overnight. It was a little too light, so I decided to do another topcoat with a darker blue. This time I went with Valspar #248-2 Clear Horizon semi-gloss from Lowes.
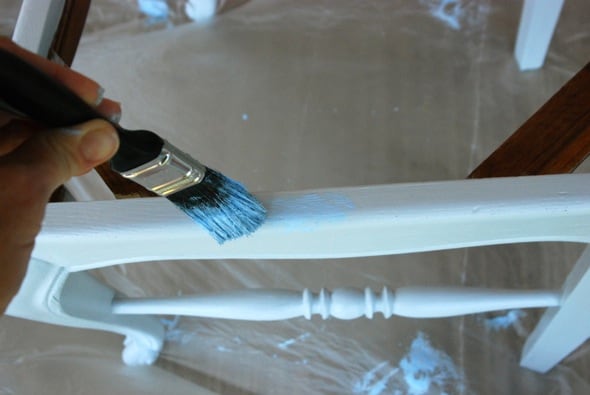 I painted this coat with a regular brush because I wanted the strokes to show.
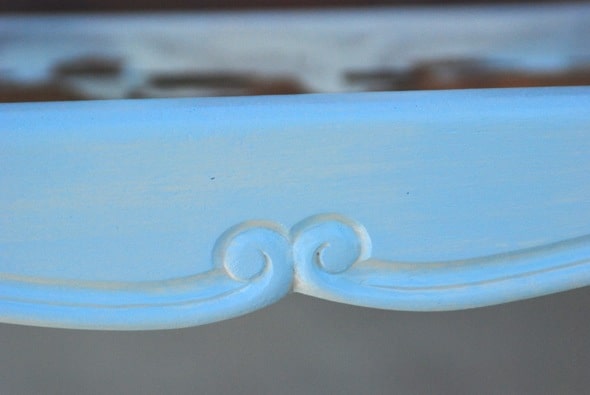 I painted it so the lighter blue would continue to show through.
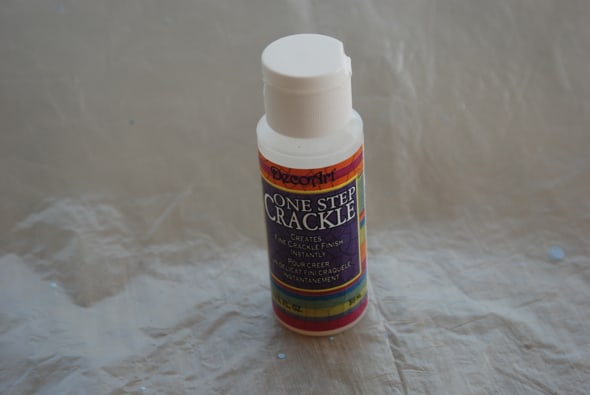 Next, I added DecoArt’s One Step Crackle from Hobby Lobby. There are different types of crackle techniques. Usually, you paint a bottom coat, then crackle, then a topcoat. With that technique, the bottom coat is what shows up in the cracks. I used a different technique I want the blue to be the main color and I wanted to control the color and intensity of the crackle. With the one-step approach, you rub glaze over the crackled area and that fills the cracks. I painted the crackle paint on certain areas: the leg arches, the accents and the chair back. Then, I let it dry for 2 hours.
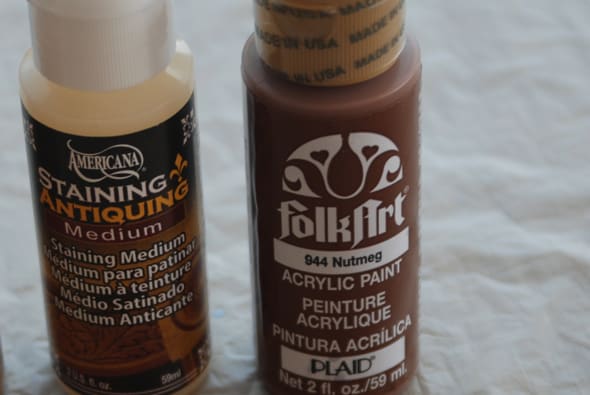 Next, I made my own glaze using Americana Staining Antique Medium from Hobby Lobby. You can mix a bottle of this with any color acrylic paint to create your own glaze color. I mixed the medium with FolkArt #944 Nutmeg.
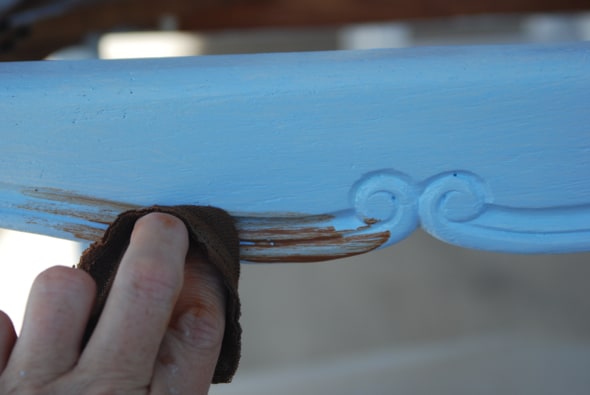 I wiped the glaze on with a cloth.
 I rubbed it in the areas where I applied crackle and in the areas with grooves.
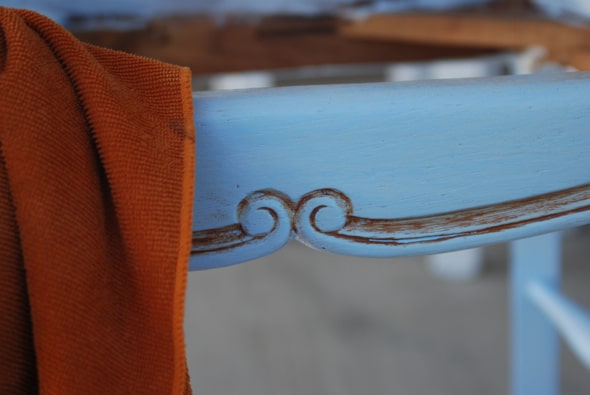 Then, I wiped it off with a damp cloth, leaving the residue behind in the areas I wanted. Wipe on, wipe off…Ralph Macchio’s got nothin’ on me.
I let them dry overnight as I pondered what fabric I should cover the chairs in. I thought about carrying a chair and my granite scrap with me into the store, but I refrained. Instead I painted a piece of paper. It was much easier to lug around.
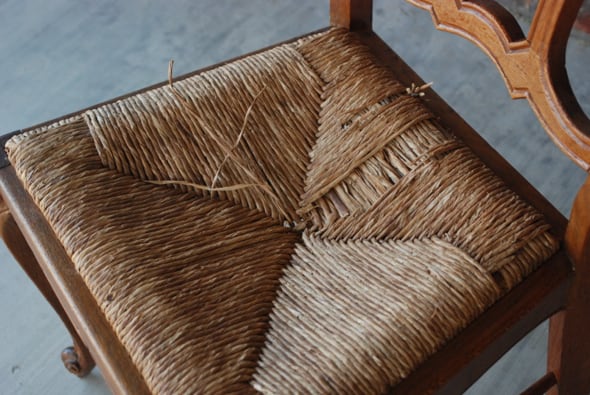 The existing seats were woven rush but the fiber rush was coming off, and after 60+ years, they were dirtier than I preferred, and I wasn’t sure how to clean them properly. Besides I wanted something more regal. This meant I had to cut wood to fit into the seat area. Back to the home improvement store.
 I created a pattern for the seat inset using foam core. I tested that pattern in each seat to see if it would work. Four seats were the same size and the other two seats matched each other. I traced the foam core pattern onto pieces of 3/4-inch thick wood.
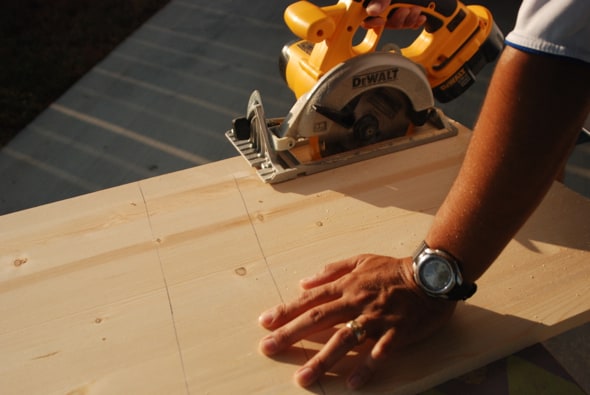 Using a circular saw (and a husband), I cut out the pattern. And sanded down the edges.
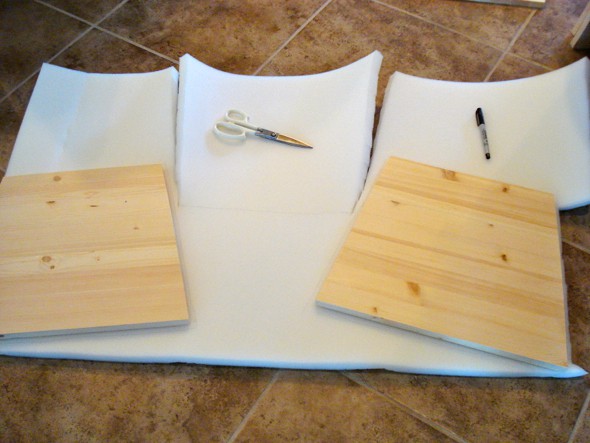 I topped them with 1-inch foam from Hobby Lobby. When choosing your foam thickness, make sure it’s not so thick your legs won’t fit under the table. I traced the pattern onto the foam, making it about ½ inch larger all the way around. Cut the foam using kitchen scissors.
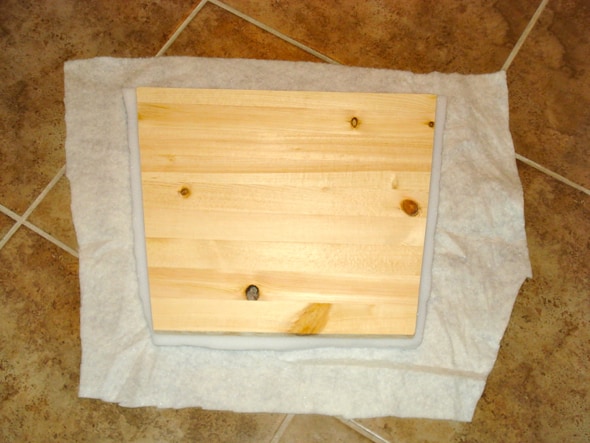 Place the batting on the ground and cut enough extra around it, so you can wrap the seat in the batting. Place the cushion on top of the batting. Then, place the wood on top of that.
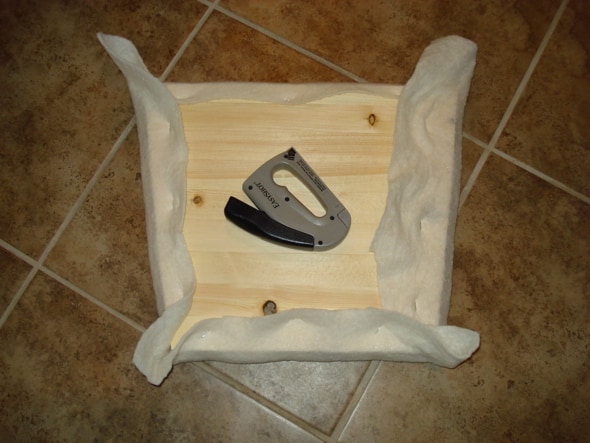 Working like a clock, staple the batting at 12 o’clock, then 6 o’clock, then 3 o’clock and finally 9 o’clock, pulling the fabric over the foam and wood with each staple. Continue adding staples around the edges (you don’t have to do too many though. You’ll take care of that with the fabric.) And you don’t have to pull the batting too tight because it will tear. The batting just helps smooth out the foam and wood lines.
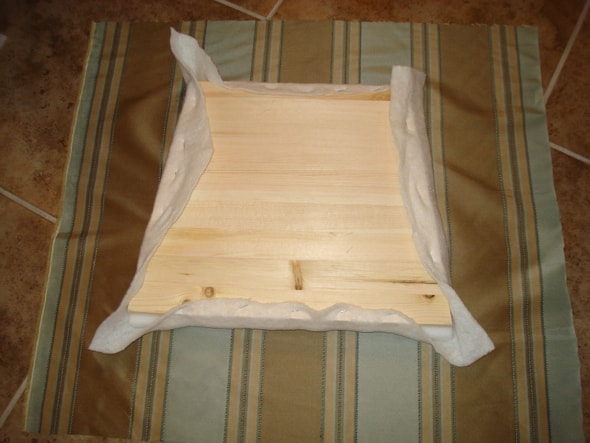 Place the fabric right side down. Place the upside down seat cushion on top of the fabric. Cut enough extra, so you can wrap the cushion. Be sure to look at the pattern of your fabric before you cut. You want your stripes to be straight.
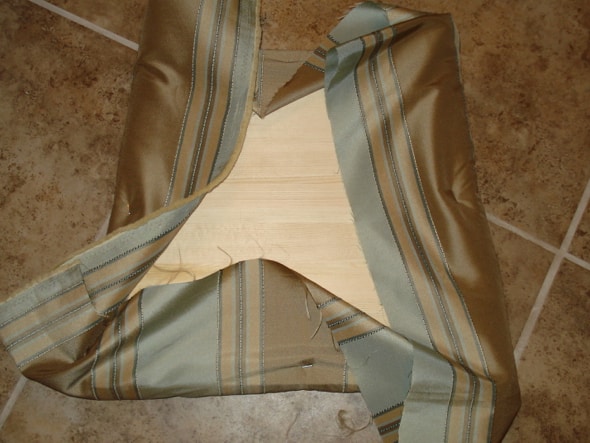 Using the same technique as with the batting, staple at 12, 6, 3 then 9 o’clock. Pull the fabric as tight as you can before you staple. This will ensure you have a smooth edge. Continue pulling tight and stapling all edges, except the corners.
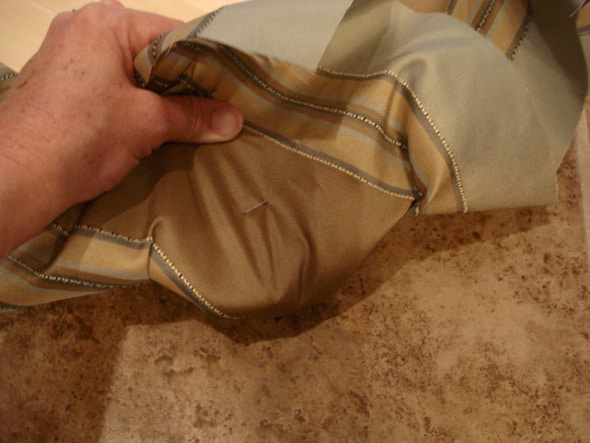 To finish the corners, pull the point over the corner and staple down.
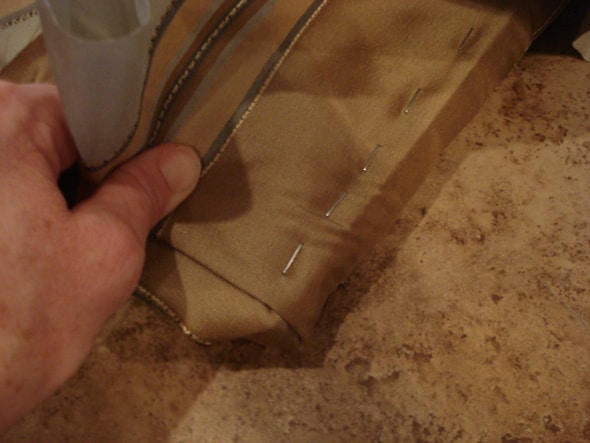 Fold the right side toward the edge and staple down.
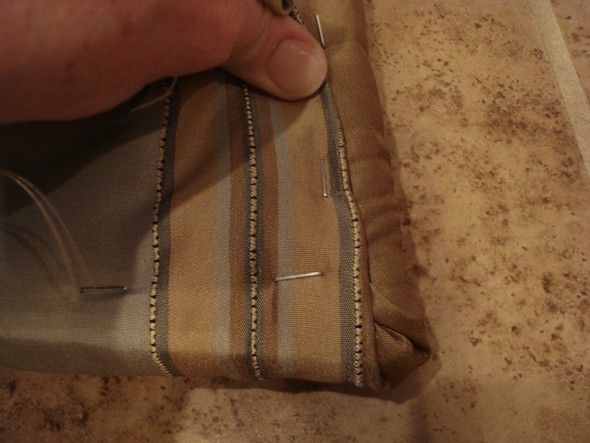 Fold the left side toward the edge and staple.
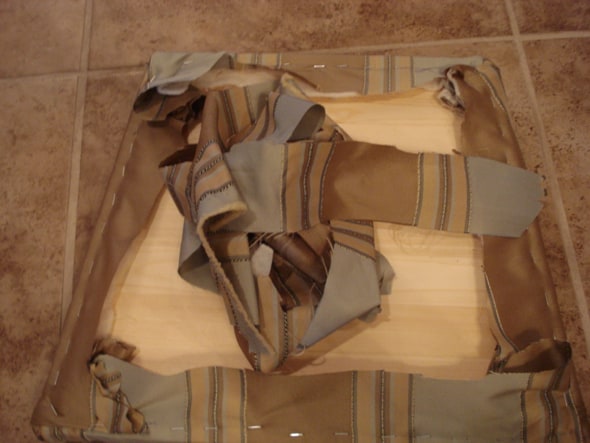 Trim off the extra fabric so it doesn’t hang below the seat.

Finish off the underside, by folding down the excess fabric and stapling it down.
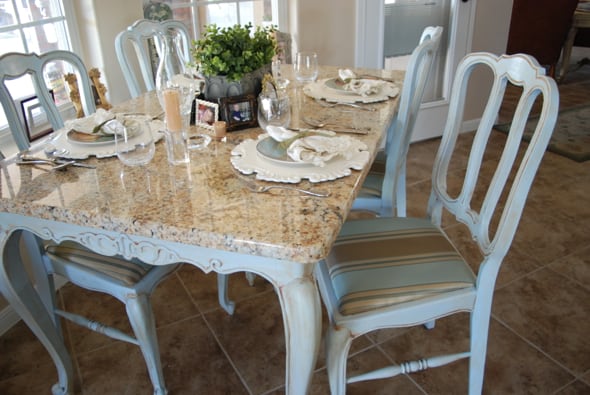 Finally, I was able to place the cushions back into the chairs. So pretty.
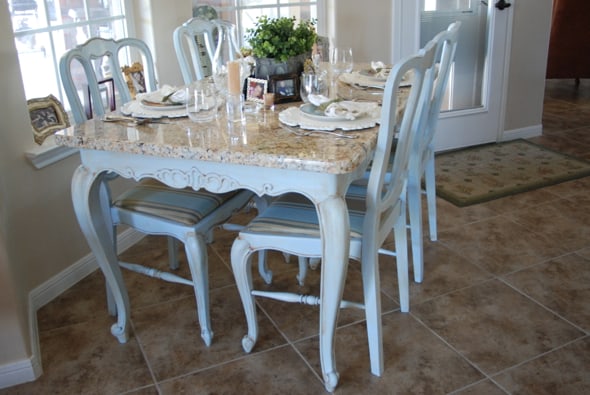 And they look so elegant with the granite top ~ la Pièce de résistance. Because the granite is so heavy, I didn’t use any adhesive. I just placed it right on top of the table.
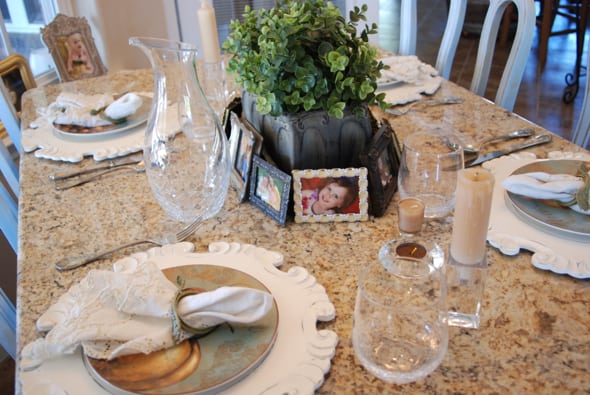 Finally, some styling. I like to have small picture frames at the table with photos of my nieces, nephews, brothers, sisters and parents…so that they’re always joining us at the family table. Now, no matter where the Army sends us, I will always have a granite countertop.



Hello, I love what You did! As I don’t have they opportunity yo find out furniture of this style near where I love (México), I Will try to find someone who makes me one similar. Can You please let me know they meassures of tour table and chairs, as Wells as let me know how much bigger than the table is the granite cover? Thanks You!!
Hi, I want to learn how to make a granite kitchen table I have the frame but i sont know where I can find just the granite kitchen table top to go on the frame. Can you help me
I purchased mine from a granite yard. We had two near our town. Go to yellowpages.com and type in granite slabs and your city. You want to find a place that sells the remnants. You might also be able to order a special slab from a home improvement store, but it will be more expensive.
Hi!
You do such a great job of documenting your process!
I bought some similar chairs from an antique shop that someone had already redone. Except they used thin masonite and even thinner padding. Uncomfortable! And my 16 year old son already broke the masonite on one.
I’m interested in whatever you can tell me about the rush seat bottoms that you ended up not using. Was there some kind of frame that the rushes were woven around?
Thanks!
The rush cord was wrapped around a hollow wood frame, so if I took it off, there would be nothing to actually sit on. That’s why I used the 3/4-inch wood to create new, stronger seats.
Drawing the stencil was the hardest part, but if you have the masonite, you could use that as a template.
Good luck!
Wow ! That was alot of work but it is beautiful! Hope that won’t be too much weight with the Army weight limit for moving. LOL!
Leah…we thought about that same thing. I have 2 tables with granite tops now…but I’ll give up a couch before I give them up 🙂
You are so talented!!!! You did an awesome job. LOVE the graite top. I’m surprised that the legs of the table can support that much weight. It all looks so pretty.
Thanks Kathy. So far it’s holding up. Fingers crossed.